
How To Set Up Google Search Console? (and Why You Really Need To)

If you’ve been wondering whether your website is actually showing up on Google, Google Search Console is the tool that gives you the answer. And the best part? It’s completely free.
Google Search Console (GSC) is one of the most powerful SEO tools available for planning your growth strategy and checking if your SEO is working. It gives you tons of insights on your website’s organic performance directly from Google. Unlike other tools that estimate your performance, GSC show you exactly how your website is performing in search results, straight from the source.
In this blog post, I’ll walk you through how to set it up step by step, explain the difference between the two setup options (and which one to choose), and tell you what to do once it’s live. Grab a cuppa and let’s get into it!
What Does Google Search Console Actually Show You?
Before we dive into the setup, it’s worth knowing what you’ll get access to once it’s connected:
Which keywords your website appears for in Google Search
Your average ranking position for each keyword
Which pages on your website are ranking for which search terms
How many people are clicking through to your website from Google
How your performance changes over time
This is real data, directly from Google. No guesswork, no estimates.
Step 1 - Sign in to the right Google account
Before anything else, make sure you’re signed in to the Google account you want to use for Google Search Console. If you already use Google Analytics, using the same account will make the verification process much smoother.
Quick tip: If a web designer built your website, do a quick search in your inbox for ‘Google Search Console’. Many of my clients discover it’s already been set up for them, which is always a pleasant surprise! If you find an email, simply sign in to the Gmail account it was sent to, head to Google Search Console, and click ‘Start’.
If you can’t find anything, no worries. It just means you’ll be setting it up fresh, which is exactly what this guide is for.
Step 2 - Choose your setup method (this part matters)
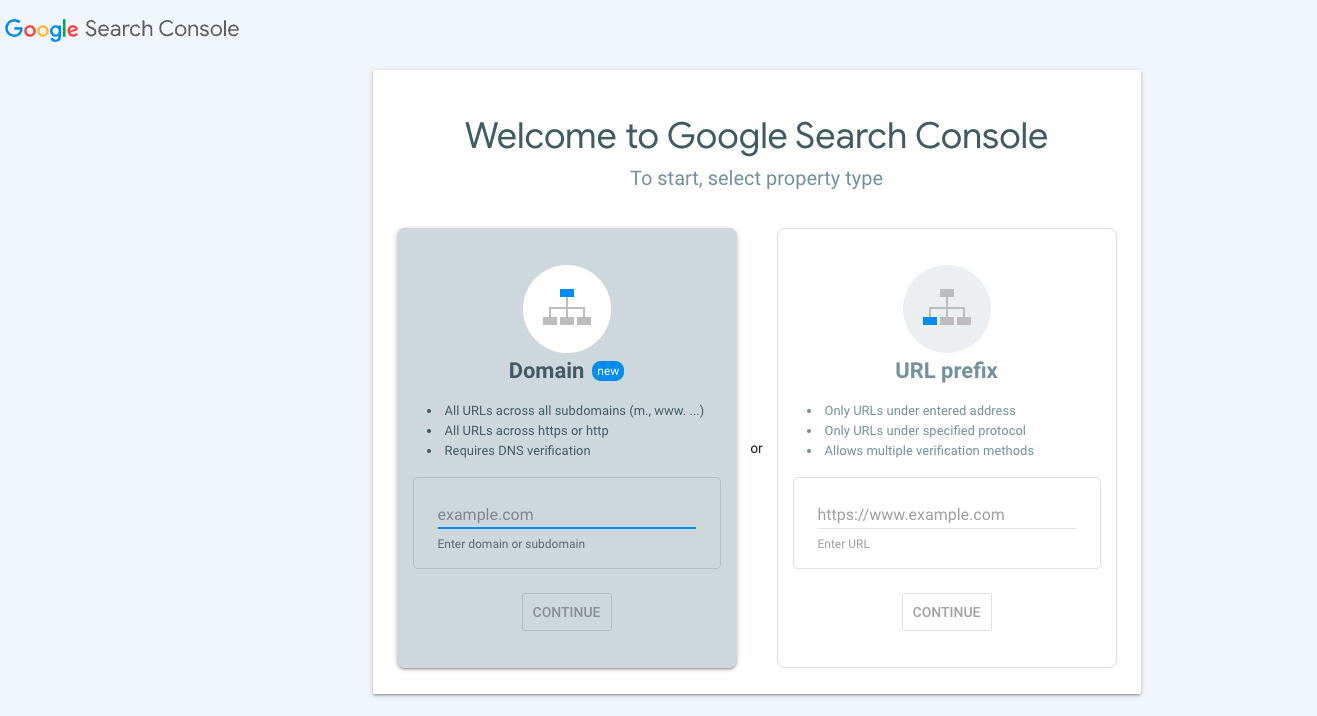
Head to the Google Search Console set-up page, and you’ll be presented with two options: URL prefix or Domain Property.
This is the bit most guides skip over, so let me explain the difference clearly.
URL Prefix vs Domain Property: What’s the difference?
URL Prefix only tracks one specific version of your website URL. For example, if you enter https://www.yourdomain.com, it will only track that exact version.
It won’t automatically include http://www.yourdomain.com or https://yourdomain.com (without the www). This means if your website has ever been accessible at multiple URLs (and most websites do!), you might not be seeing the full picture of your performance.
Domain Property tacks everything. It covers all versions of your URL (www and non-www, http and https), all subdomains (like blog.yourdomain.com), and your entire website as a whole. This gives you the most complete and accurate data possible.
Which should you choose?
Domain property every time, if you can. The only reason to go with URL prefix is if you don’t have access to your domain provider account (like GoDaddy or Namecheap). If you do have access, Domain Property will always give you better, more comprehensive data.
Option 1: URL Prefix Setup (Simpler, No Domain Access Needed)
Choose this option if you don’t have acess to your provider account, or if you just want to get set up quickly with minimal technical steps.
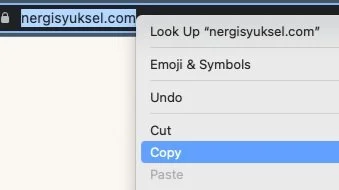
Go to your homepage and copy the URL directly from your browser (this ensures you’re entering the exact correct version)
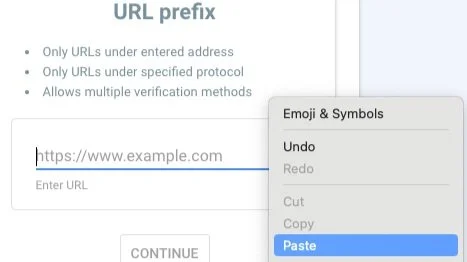
Paste it into the URL prefix box
Click ‘Continue’ to move on to the verification process
Verifying ownership with URL Prefix
The easiest verification method is via your Google Analytics account. If you have Google Analytics set up with the same Gmail address, your verification will complete automatically.
If that doesn’t work, use the HTML tag method. How you add this depends on your website platform. Here’s where to find instructions for the most common ones:
Option 2: Domain Property Setup (Recommended)
For this option, you’ll need access to your domain provider account (GoDaddy, Namecheap, Domain.com, etc). Make sure you have your login details ready before you start.
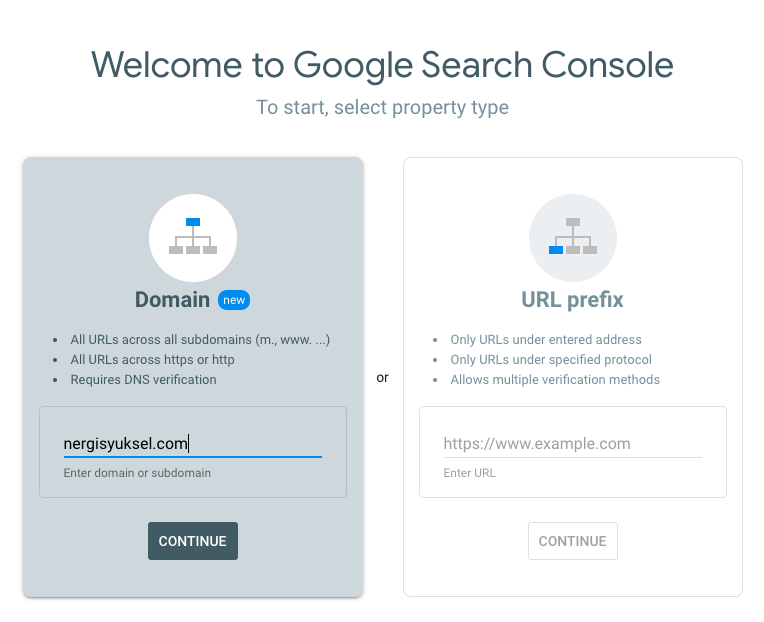
Enter your plain domain name (yourdomain.com). Don’t include https://, www, or a trailing slash (/).
Click ‘Continue’
Google will give you a TXT record to add to your domain provider settings - don’t worry I’ll explain exactly what to do with this below
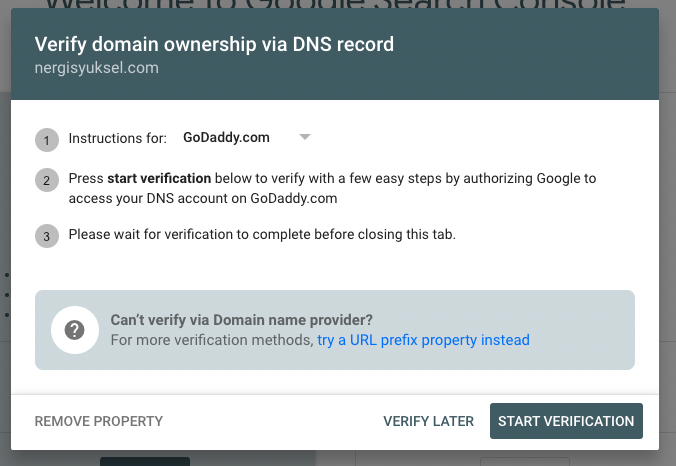
Verifying ownership with domain property (DNS records)
I know ‘DNS records’ and ‘TXT record’ sounds technical, but I promise it’s simpler than it sounds. Here’s what to do:
Copy that TXT record
Log in to your domain provider account
Find the DNS settings section (sometimes called DNS Management or Zone Editor)
Add a new TXT record and paste in the value you just copied
Return to Google Search Console and click ‘Verify’
Here are step-by-step guides for the most common domain providers:
If you’re not sure where to find the DNS settings in your domain provider account, contact their support team. They are usually really helpful with this. Or feel free to drop me an email and I’ll point you in the right direction.
Step 3: Confirm Verification
DNS verification (used with Domain Property) can take a few hours to process, so don’t panic if it doesn’t verify immediately. If it still hasn’t verified after 24 hours, double-check the TXT record was added correctly, or get in touch with your domain provider’s support team.
Step 4: You’re Done! Now Be Patient
Once verified, you’ll have access to your Google Search Console dashboard. But here’s the thing: it won’t be full of data straight away. Google Search Console takes a few days to start populating data, and you’ll want to give it at least a week before you start drawing any conclusions from it.
This is also why I always recommend setting it up as early as possible. The sooner it’s connected, the sooner data starts building up, and the more useful it becomes over time to check your SEO performance.
What to Do Once Google Search Console is Set Up

Once your data starts coming in, here’s where to start:
Check the performance report: This shows you which keywords (queries in GSC) your site is appearing for, how often, and how many people are clicking through. This is the most important report for understanding your SEO.
Look at your average position: Keywords ranking in positions 1-10 are on page one of Google. Anything in positions 11-20 is on page two, which is where most of the opportunity lies, meaning a small improvement in these positions can make a big difference to your traffic.
Submit your sitemap: In other words, tell Google your website exists. A sitemap is a list of all your pages that your platform creates and updates automatically. You just need to find the correct URL for your sitemap, which changes from platform to platform. If you haven’t already, submitting your sitemap helps Google discover and save all your pages more efficiently. You can do this under the Sitemaps section in the left menu.
Common Questions
Do I need Google Search Console if I already have Google Analytics?
Yes! They do different things. Google Analytics tells you what people do once they’re on your website (how long they stay, which pages they visit), as well as a multi-channel view. Google Search Console tells you how people find your website, specifically through search in the first place. You need both to get the full picture.
Can I set up Google Search Console on any website platform?
Yes. Whether you’re on WordPress, SquareSpace, Showit, Wix or any other platform, you can connect Google Search Console. The verification method may vary slightly depending on your platform, which is why I’ve included links to platform-specific instructions above.
I set it up, but I’m not sure what I’m looking at. What now?
That’s completely normal! Google Search Console gives you a lot of data, and it’s not always obvious what to prioritise or what to do with it. If you’d like personalised help understanding your data and turning it into clear action steps, that’s exactly what my SEO Clarity Audit & Action Plan is designed for.
The Bottom Line
Google Search Console is one of the most valuable tools you can have as a business owner with a website. It tells you exactly how your site is performing in search, in plain terms, directly from Google. And it’s free.
The sooner you set it up, the sooner you start building up data that will help you make smarter decisions about your SEO. Even if you’re not ready to dive into the data yet, getting it connected now means it’ll be there waiting for you when you are.
And if you ever feel overwhelmed by what you find in there, just remember: clarity is always one step away. Feel free to get in touch if you have any questions!